Last week was Imaging USA, a 5-day conference for photographers hosted by the Professional Photographers Association of America. The PPA is the largest photography association in the world with over 30,000 members and this year there were over 8000 people at the convention. It’s the highlight of my year because it’s busting with classes and inspiration as well as old friends, new friends and great parties!
This year I taught three classes in one day. It was the same class, “How To Light A Wedding,” and it takes place during “pre-con” which is the two days prior to the “big event” which lasts three days. Pre-con is more in-depth classes (some last all day or both days) and more hands-on. My classes were two hours each.
During the classes, I taught how to light the different situations you encounter during a wedding, from lighting a dance floor at the reception to lighting groups, and individual shots of the bride and groom. I even managed to squeeze in some more unique back-lighting stuff in the limited time we had.
So, the main reason for this blog post is so I can put the images online for my class. They saw them as I shot but it’s always nice to be able to look at them again later and see close-up what the lighting looked like in the final product. These images are a good selection of the different lighting challenges I set up for myself. They have been corrected in Bridge (Lightroom) but have not been hand-retouched (skin smoothing, cloning, artistic burn and dodge, etc), which is how I deliver images to my wedding clients. Hand-retouching is reserved for printed products and albums.
I’ve included some comments for my students to remind them of what was being demonstrated..
These first four images are examples of bounce flash. This is the sort of lighting I use during receptions. It’s fast and gives a good wash of light with no specular highlights and a little direction for depth and contrast.
More bounce flash here as I demonstrate how you can create directional light with the flash on your camera. Also, you can change your background light just by adjusting your shutter speed.
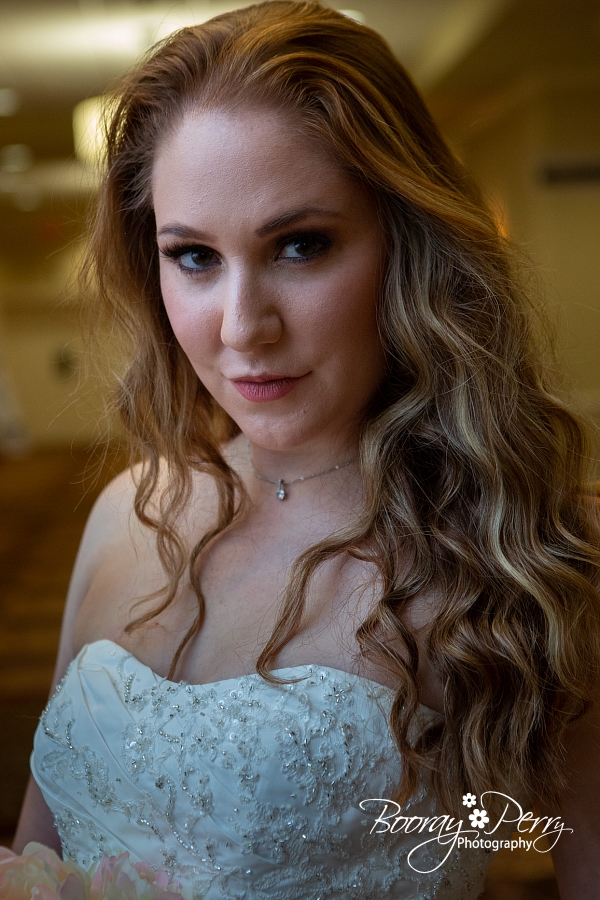
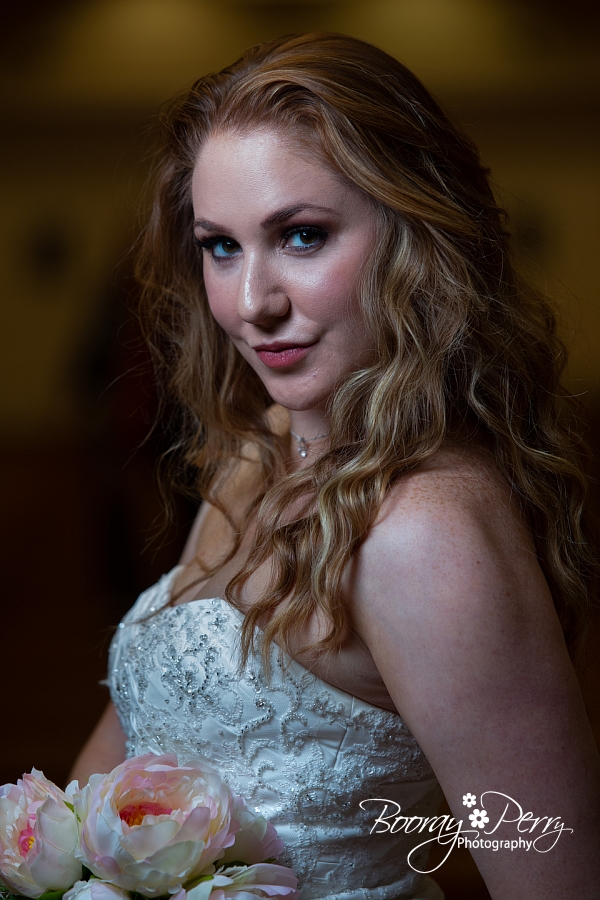
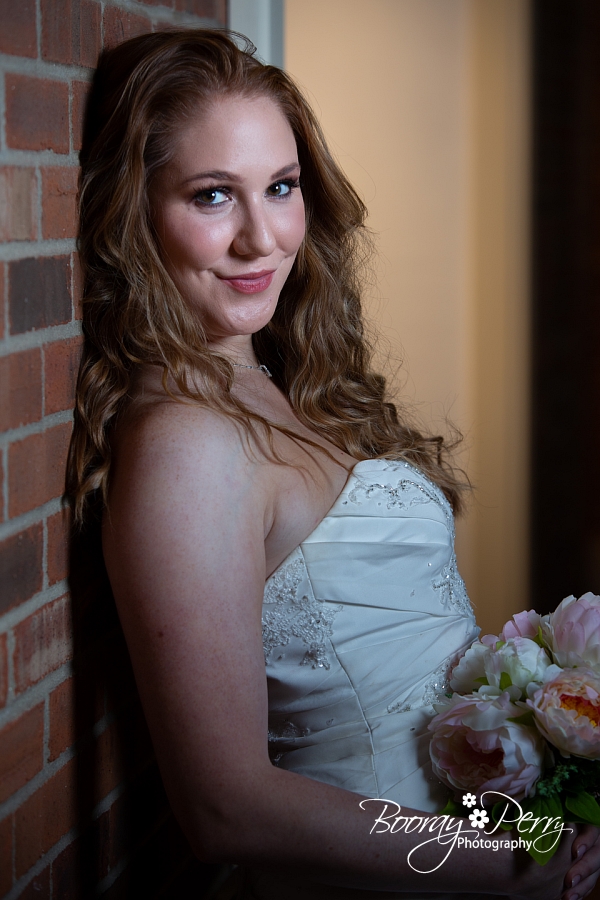
Now we move to off-camera lighting with one light in a softbox. I purposely picked this brick wall because it was small and next to the bathroom. I wanted to show that you don’t have to be trapped by a location that doesn’t seem to offer any scenery. Look around… you can always find something that works!
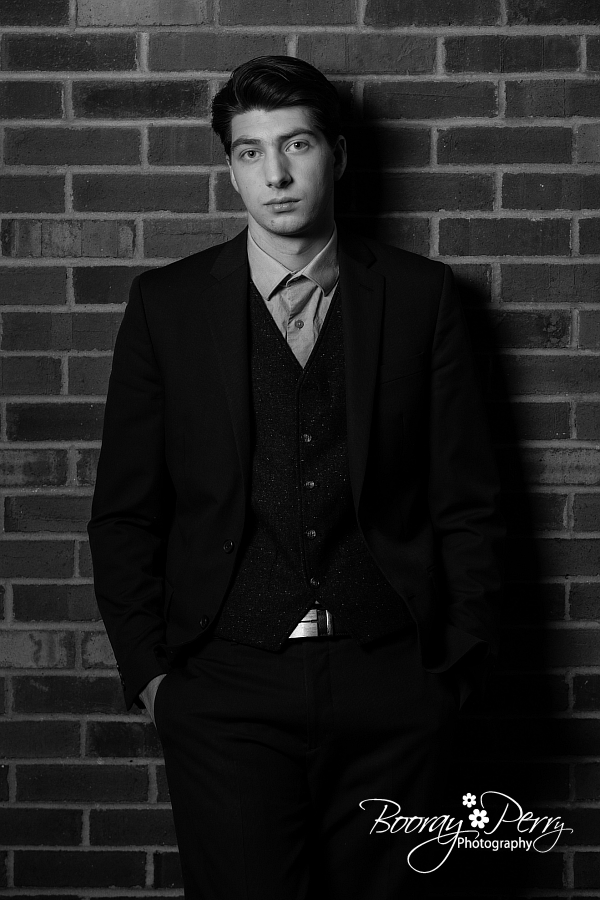
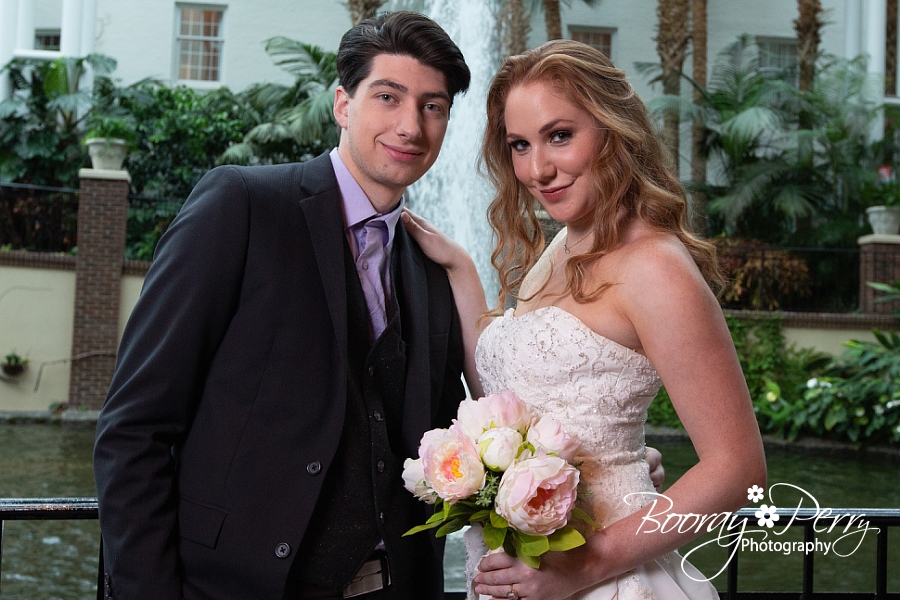
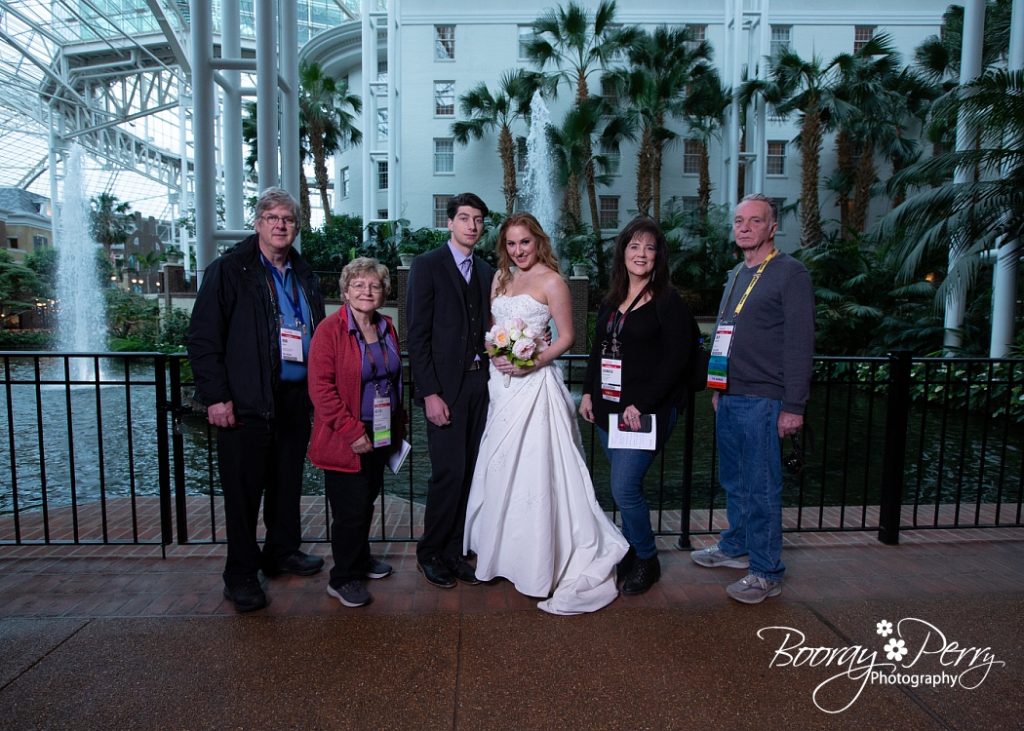
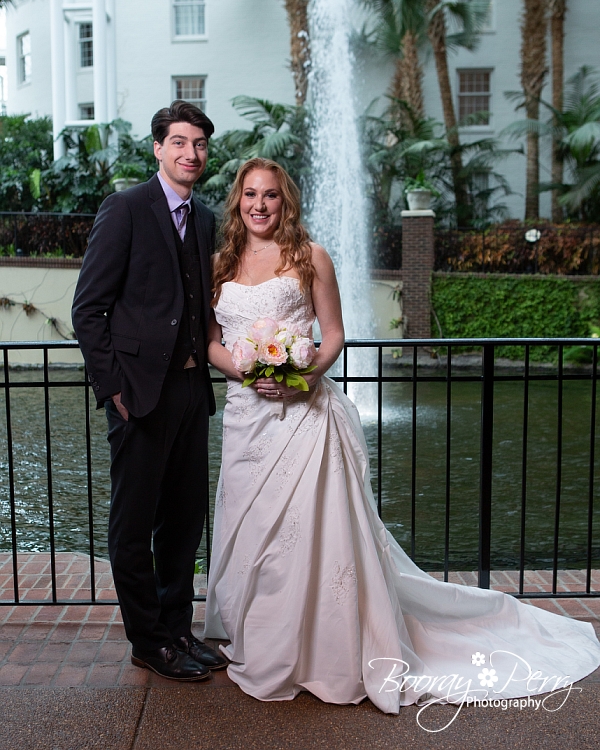
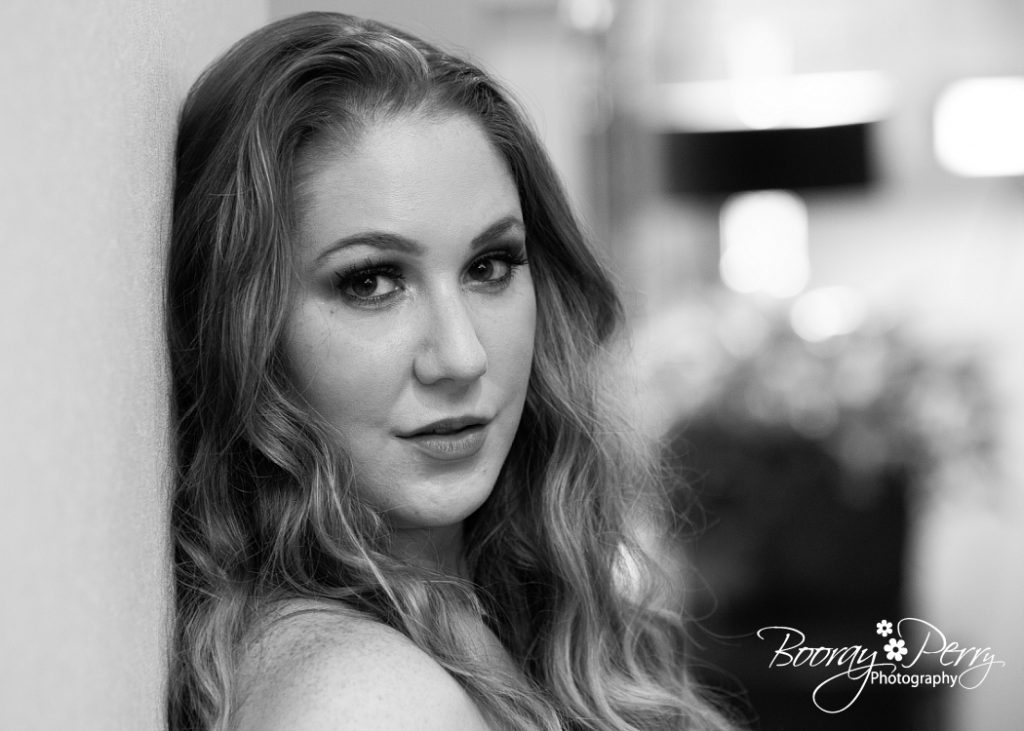
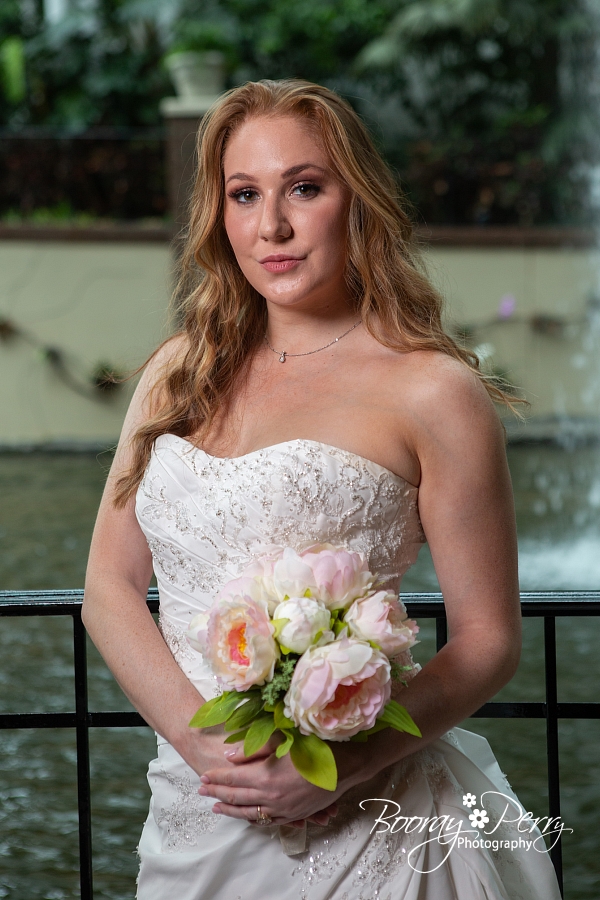
Now a few using off-camera lighting, including a group shot with students standing in as family.
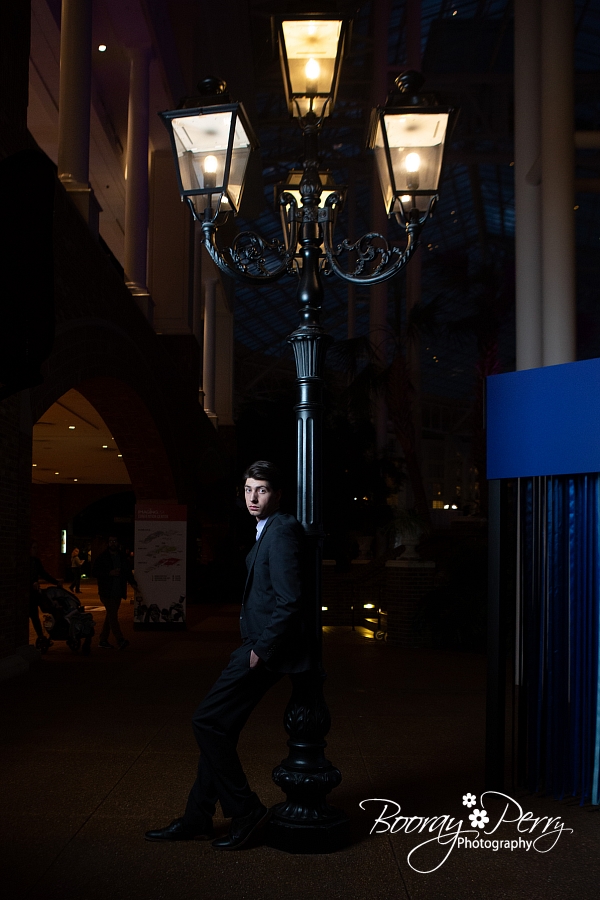
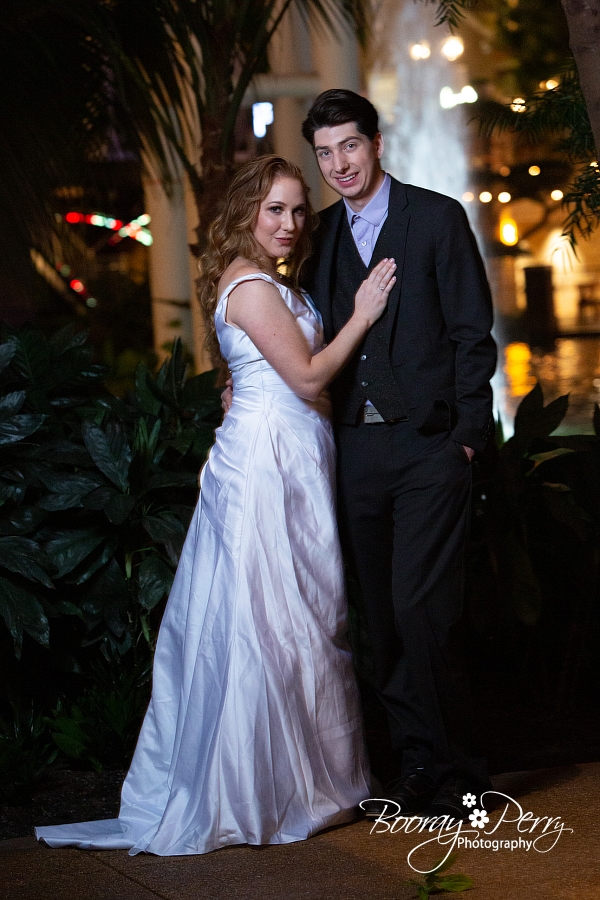
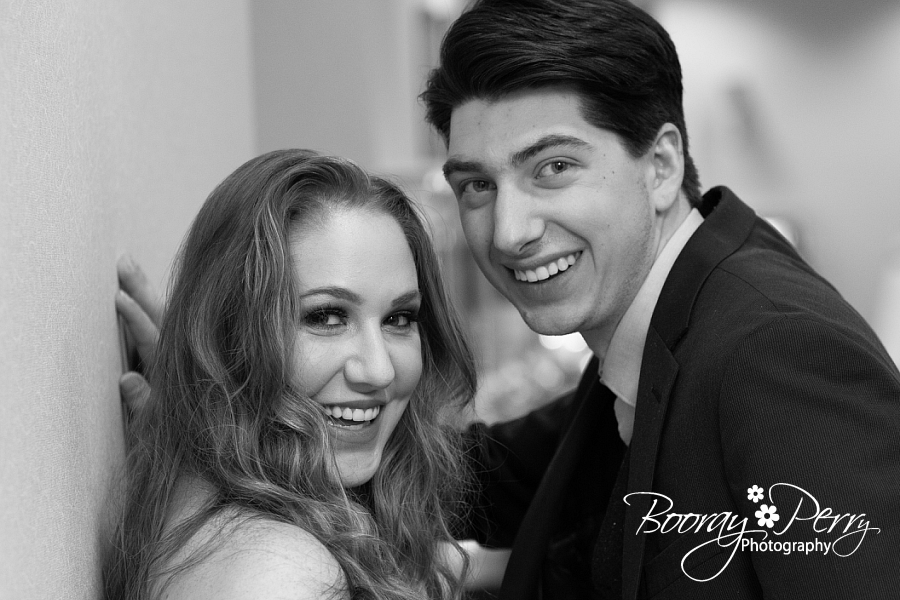
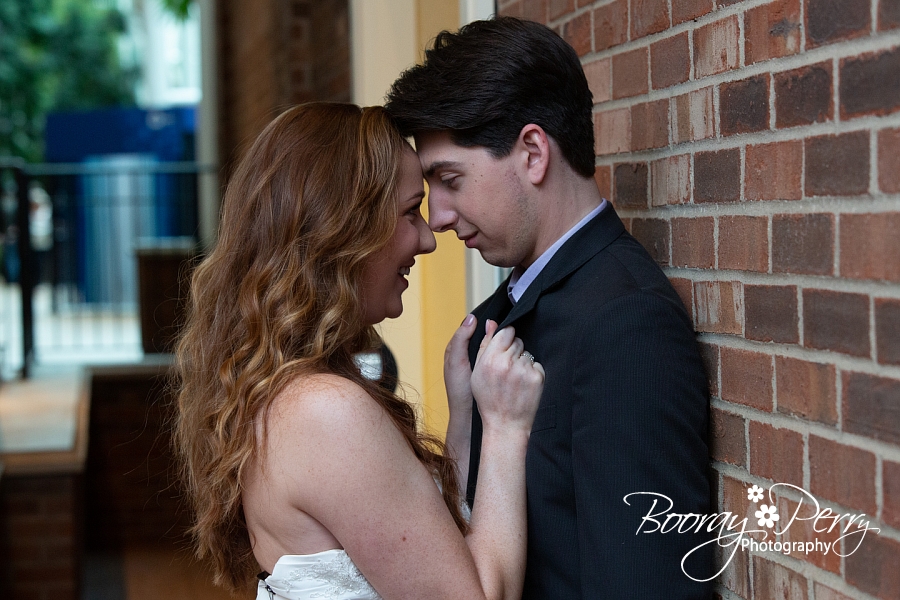
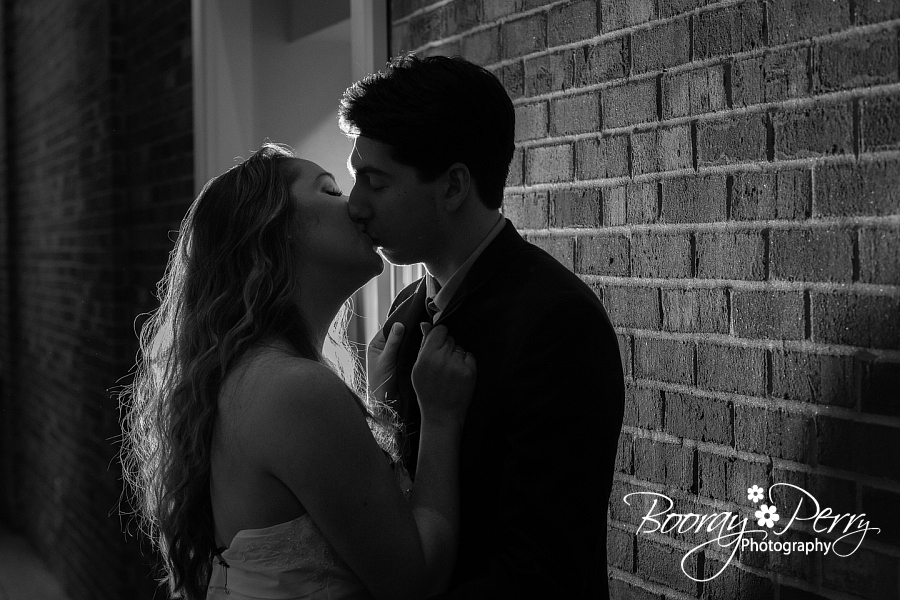
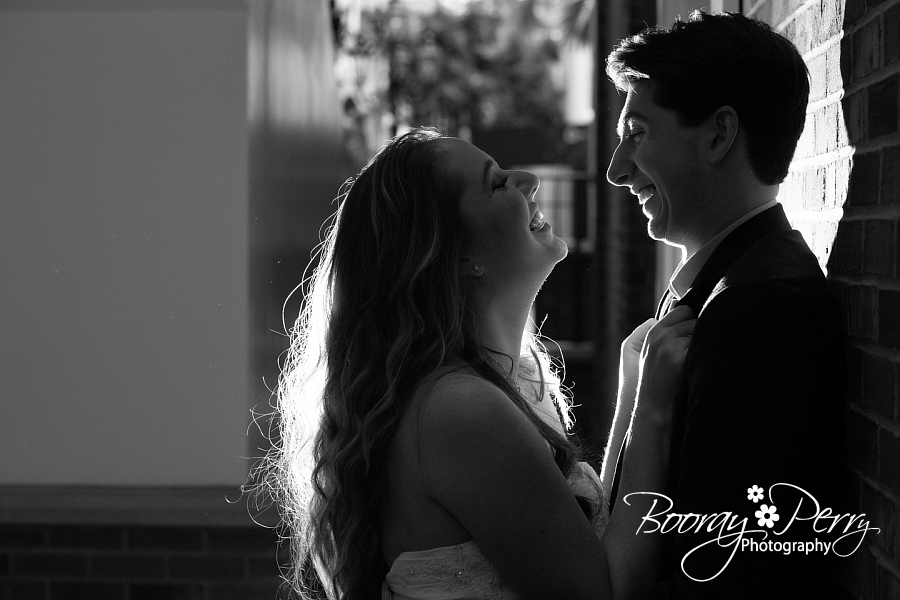
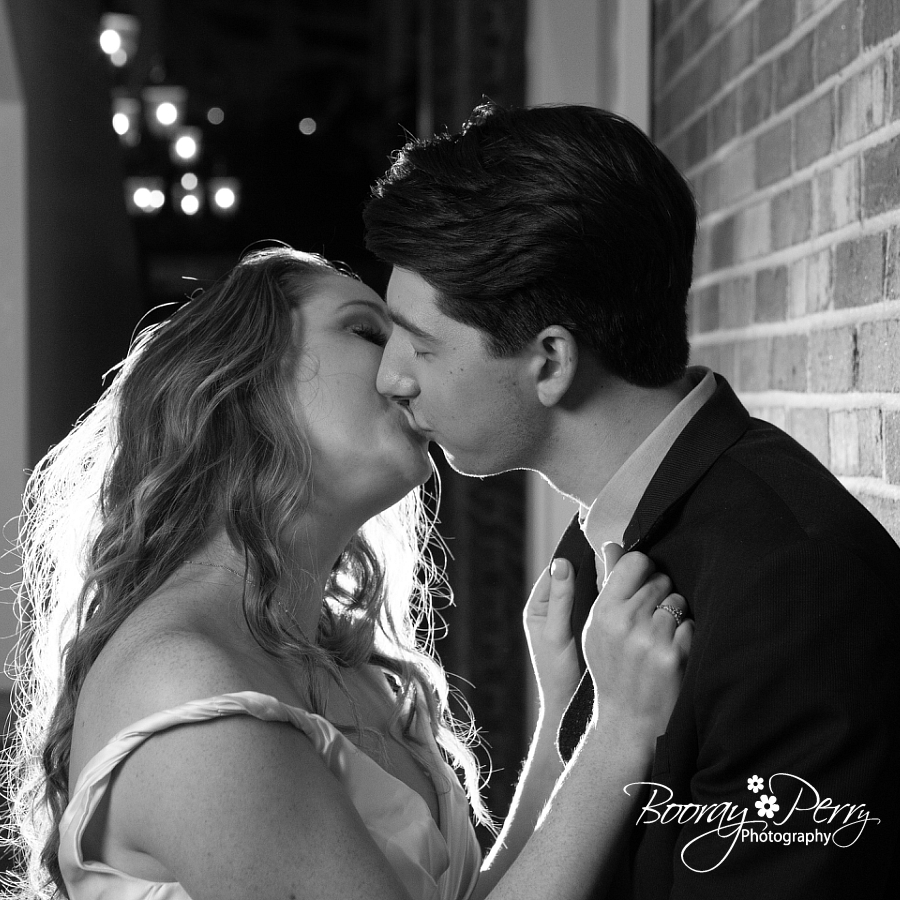
These last three images are lit with a backlight behind the couple for dramatic effect. The final one has a backlight and my on-camera flash bounced to light the couple from the front.
It was a great day! I really love shooting with a group and working out problems on the fly. Don’t forget to check out my podcast and my You Tube Page for more great tips!
